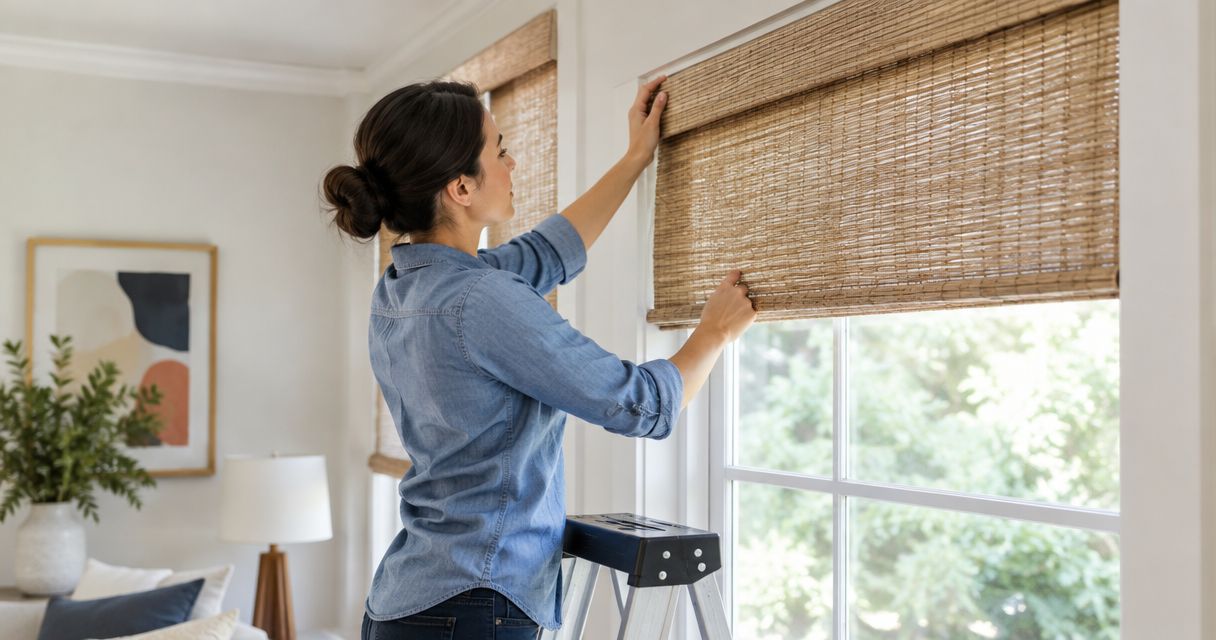
Woven wood shades are installed by choosing an inside or outside mount, measuring the window, fastening the supplied brackets to a suitable mounting surface, and securing the shade’s headrail. The final step is checking that the shade raises, lowers, and clears the window hardware. Follow the instructions supplied with your exact shade; bracket placement, fasteners, and attachment methods are not interchangeable.
- Learning how to install woven wood shades starts with the correct mounting position and your shade’s installation instructions.
- Inside mounts preserve visible trim; outside mounts need space above and beside the opening.
- Check window handles, mounting depth, and the raised shade’s position before drilling.
- Olsson Smart Shades serves Columbus and Central Ohio homeowners seeking custom-measured, professionally installed window treatments.
Why this matters
A shade can match your room and still fit poorly. A shallow recess, projecting handle, or poorly positioned bracket can prevent it from sitting or moving correctly.
For a 2026 window project, settle the mounting position before ordering—not after the shade arrives. Start with the principles in how to measure windows for custom blinds, then follow the measuring requirements for your particular woven wood shade. Ordering dimensions and finished shade dimensions are not always the same.
How are woven wood shades installed in a home?
The installation follows a clear sequence. Complete each check before moving to the next; drilling first and checking fit afterward creates avoidable repair work.
1. Read the instructions and identify the hardware
Unpack the shade on a clean surface. Match the brackets, screws, covers, and other supplied parts to the installation sheet, keeping protective wrapping in place where the instructions allow.
Check whether the brackets attach above the headrail, behind it, or through another specified arrangement. Do not assume that hardware from an old blind will support a new woven wood shade. Similar-looking brackets can attach differently.
Have the required tools ready. These commonly include a tape measure, pencil, level, drill, appropriate drill bits, and screwdriver; the shade instructions determine the final list.
2. Confirm the mounting position
An inside mount fits within the window recess. An outside mount attaches above or around the opening, such as to suitable trim or wall framing.
Hold the headrail in its intended position without fastening it. Check the shade’s full path, including projecting locks, handles, screens, and nearby drapery hardware. Also consider where the gathered shade will sit when raised.
A shade must fit while moving, not just while hanging still. If you cannot hold it safely while checking placement, get another person to help rather than balancing it overhead.
3. Mark and check the bracket locations
Use the manufacturer’s specified bracket positions. Keep brackets clear of the lift mechanism and other headrail components; longer shades can require additional supports where the instructions specify them.
Mark the fixing holes and check alignment with a level. Do not simply follow the top edge of an older window opening, because the trim itself might not be level.
Before drilling, confirm what will support each fastener. Decorative trim, drywall, wood framing, and masonry require different fastening decisions. Never drill into the window frame or assembly unless the window and shade instructions permit it.
4. Fasten the mounting brackets
Drill pilot holes where required, using the bit and depth appropriate to the mounting surface and fasteners. Check for concealed wiring or plumbing before drilling into a wall.
Secure the brackets without distorting them. If a screw spins without tightening, stop: the attachment is not secure. Correct the fixing method rather than hiding the loose bracket behind the headrail.
Use suitable access equipment on a stable surface. A chair or windowsill is not a substitute for a properly positioned stepladder.
5. Attach the headrail
Fit the headrail into the brackets using the supplied instructions. Some designs engage an edge before locking into place; others use a different fastening arrangement. Do not force the shade into brackets that appear misaligned.
Support the shade until every required attachment is secured. Check each bracket individually rather than assuming the whole headrail is attached because one side feels firm.
Fit the valance or other finishing pieces only in the order the manufacturer specifies. Decorative parts should not conceal an incomplete connection.
6. Test the shade and finish the installation
Operate the shade through its intended travel. Watch for rubbing, uneven movement, or interference with handles and trim, and use only the adjustment method described in the instructions.
For a motorized model, follow its separate power and setup instructions. Keep any required charging point or battery access reachable after installation. Never assume that a particular power supply or smart-home connection works with every motor.
Finally, clear away packaging and demonstrate the controls to everyone who will use the shade. Complete all safety-device installation required for the supplied operating system.
Inside-mounted woven wood shades: best for visible trim
An inside mount is best for keeping the window’s surrounding trim visible, provided the recess meets the shade’s depth requirements. The main limitation is clearance: a shallow opening or projecting handle can rule out the position you prefer.
Measure the opening as the shade supplier directs. Check width, height, and usable mounting depth, rather than measuring only the glass. Do not make your own manufacturing deductions unless the ordering instructions specifically require them.
For your 2026 installation plan, distinguish between a shade that fits inside the recess and one that sits fully within it. A headrail can fit securely while still projecting beyond the trim. Confirm the appearance before ordering if a flush fit matters to you.
Outside-mounted woven wood shades: best for shallow recesses
An outside mount is best when the recess cannot accommodate the shade or when you want the shade to cover beyond the opening. The trade-off is that more trim can be covered, and the raised shade needs space above the window.
Choose the intended coverage first, then check where the brackets can attach securely. The shade’s width, mounting height, and raised position all affect how the finished installation looks.
Do not treat outside mounting as permission to attach anywhere on the wall. The fasteners still need suitable support, and the shade must hang clear of projecting trim.
| Mounting option | Best for | Main advantage | Main limitation |
|---|---|---|---|
| Inside mount | Windows with suitable recess depth | Leaves surrounding trim visible | Requires enough depth and hardware clearance |
| Outside mount | Shallow recesses or broader coverage | Places the shade beyond the opening | Covers more trim and needs suitable mounting space |
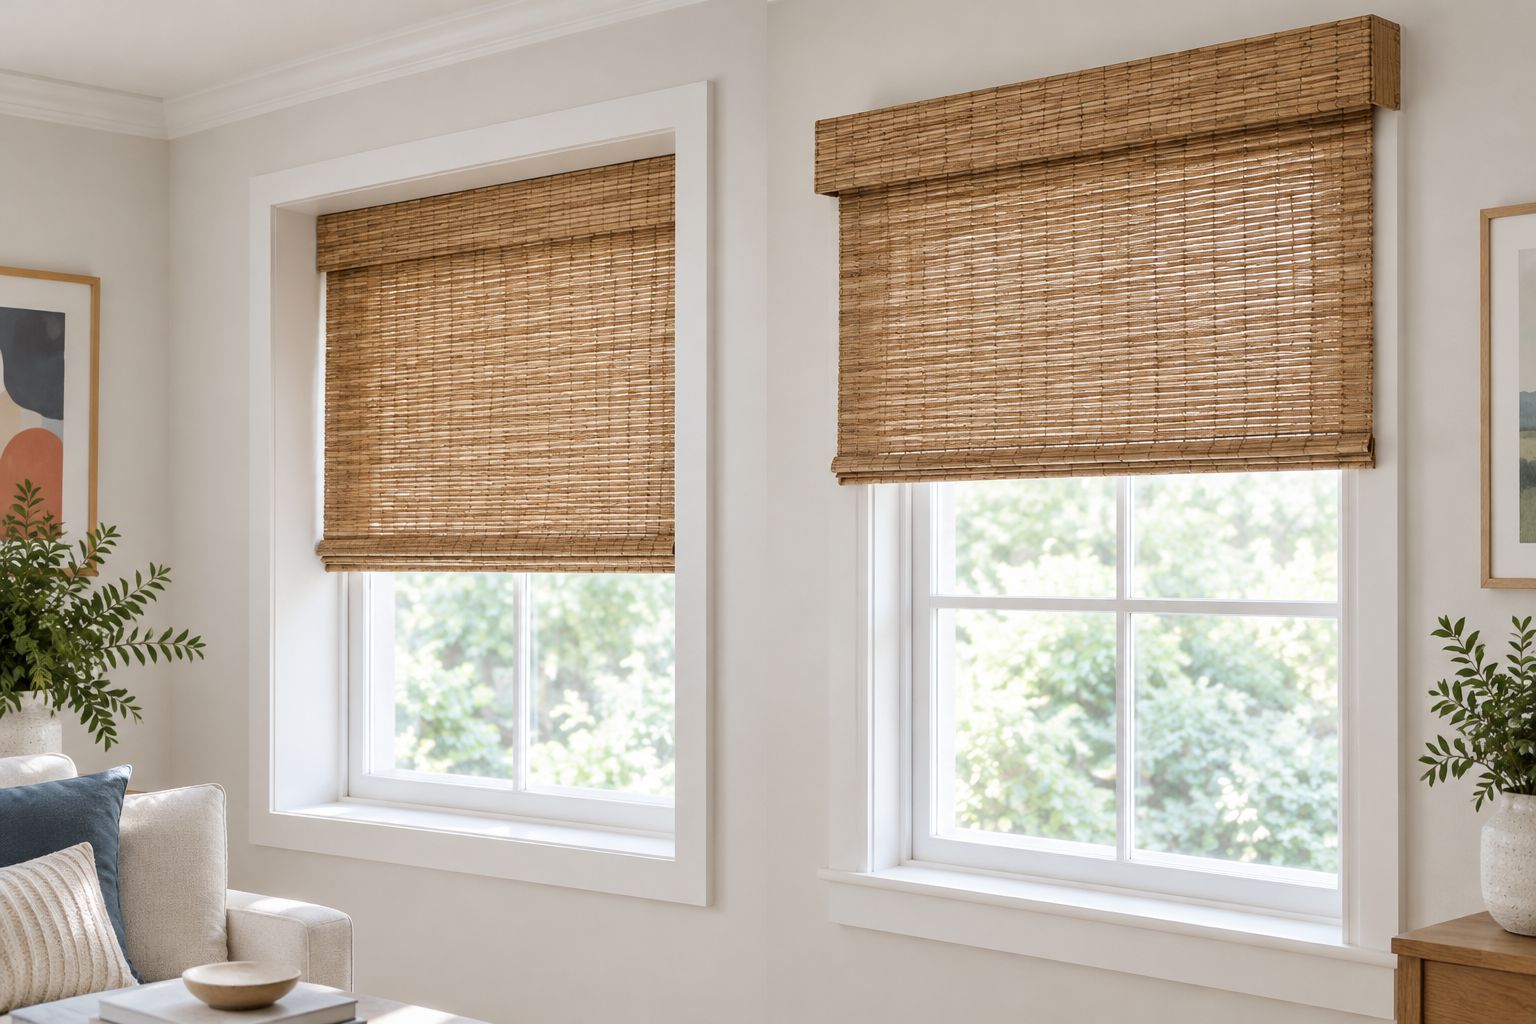
The better mount is the one that satisfies both fit and daily use. Keep the window’s operating hardware accessible, and check whether the shade needs to move before you can open the window.
Why woven wood shade installation varies
The installation method depends on the shade and the window, not just the woven material. These checks explain why instructions for one room do not automatically work in another:
- Mounting position: Inside and outside mounting change bracket placement and the area the shade covers.
- Mounting surface: Wood, drywall, and masonry require suitable fastening methods rather than one universal screw choice.
- Window clearance: Handles, locks, and projecting trim affect where the shade can hang and travel.
- Headrail design: The supplied bracket system determines how the shade attaches and locks into place.
- Operating system: Manual and motorized shades have different operating and access requirements.
- Raised position: The gathered shade needs space, especially where preserving the view or opening the window matters.
Use these checks for each opening in a 2026 whole-home project. Windows that look alike from across the room can differ at the mounting surface.
How do you avoid blocked handles and lost daylight?
Check the shade both lowered and fully raised before finalizing its position. Woven wood shades gather at the top as they rise, so a headrail mounted close to the glass can leave material across the upper part of the view.
The choice between inside or outside mounting affects both visible trim and where a raised shade gathers. An outside mount can position that gathered material above the opening, but only when the shade’s dimensions, wall space, and bracket requirements allow it.
Ask to see the intended headrail position and raised-shade position separately. A small sample of woven material helps you judge texture, but it does not show how the completed shade will occupy the window.
Privacy needs a separate check. Woven material contains openings, and an unlined shade should not be assumed to provide nighttime privacy. Confirm the selected material and any liner before ordering; mounting position alone does not resolve visibility through the weave.
Can you install woven wood shades yourself?
You can install woven wood shades yourself when you can safely reach the mounting location, identify suitable support, and follow the product’s instructions. The benefit is direct control over the work; the limitation is that you take responsibility for measuring, fastening, and correcting mistakes.
Professional installation is the better fit when access is difficult, mounting support is uncertain, or you want measurement and installation handled together. It still requires decisions from you about coverage, privacy, appearance, and operation.
Olsson Smart Shades is best for Columbus and Central Ohio homeowners who want custom window treatments measured and professionally installed. Ask about your preferred woven material and mounting arrangement before selecting a shade; the right appointment starts with confirming the product and the window together.
What should you ask during an in-home consultation?
Bring the questions that affect the finished result, not just the color choice. For a 2026 consultation, a short written list keeps the conversation practical:
- Can this window support the inside mount I want?
- Where will the shade sit when fully raised?
- Will the shade clear the handle and allow the window to open?
- What privacy does this particular material provide?
- How will I operate and clean the finished shade?
- If motorized, how will I access its power or charging arrangement?
You can request a quote from Olsson Smart Shades and ask to arrange an in-home consultation. Describe the rooms, your privacy concerns, and whether you prefer manual or motorized operation. Confirm the proposed product and installation scope before approving the work.
FAQ
Do woven wood shades go inside or outside the window frame?
Woven wood shades can use an inside or outside mount when the product supports that arrangement. Choose according to recess depth, mounting support, desired coverage, and clearance for window hardware.
Can I reuse the brackets from my old blinds?
Do not reuse old brackets unless the new shade’s manufacturer explicitly confirms they are suitable. Use the bracket system specified for the new headrail.
How much depth do I need for inside-mounted woven wood shades?
The required depth depends on the exact shade and bracket system. Check both the minimum installation depth and the depth required for the headrail to sit fully within the recess.
Can woven wood shades attach to drywall?
A drywall installation requires a fastening method suitable for the shade’s load and bracket arrangement. Do not assume that the screws supplied for wood mounting are suitable for drywall.
Do woven wood shades provide privacy at night?
Unlined woven wood shades should not be assumed to provide nighttime privacy. Confirm the visibility through the selected weave and whether an appropriate liner is needed.
What should I do if my woven wood shade hangs crooked?
Stop operating the shade and check bracket alignment, headrail attachment, and the manufacturer’s adjustment instructions. Do not pull harder or alter the internal lift mechanism without approved instructions.
Can I have woven wood shades measured and installed professionally?
You can arrange professional measurement and installation through a window-treatment provider that offers your chosen shade. Olsson Smart Shades provides custom-measured, professionally installed window treatments for homeowners in Columbus and Central Ohio; ask about the woven wood option you want.
One last thing
Check the window with the shade raised before calling the installation finished. A shade that lowers neatly can still obstruct a lock, reduce access to a handle, or cover more glass than you expected. For a 2026 installation, the final inspection should include opening the window where applicable—not just operating the shade.